

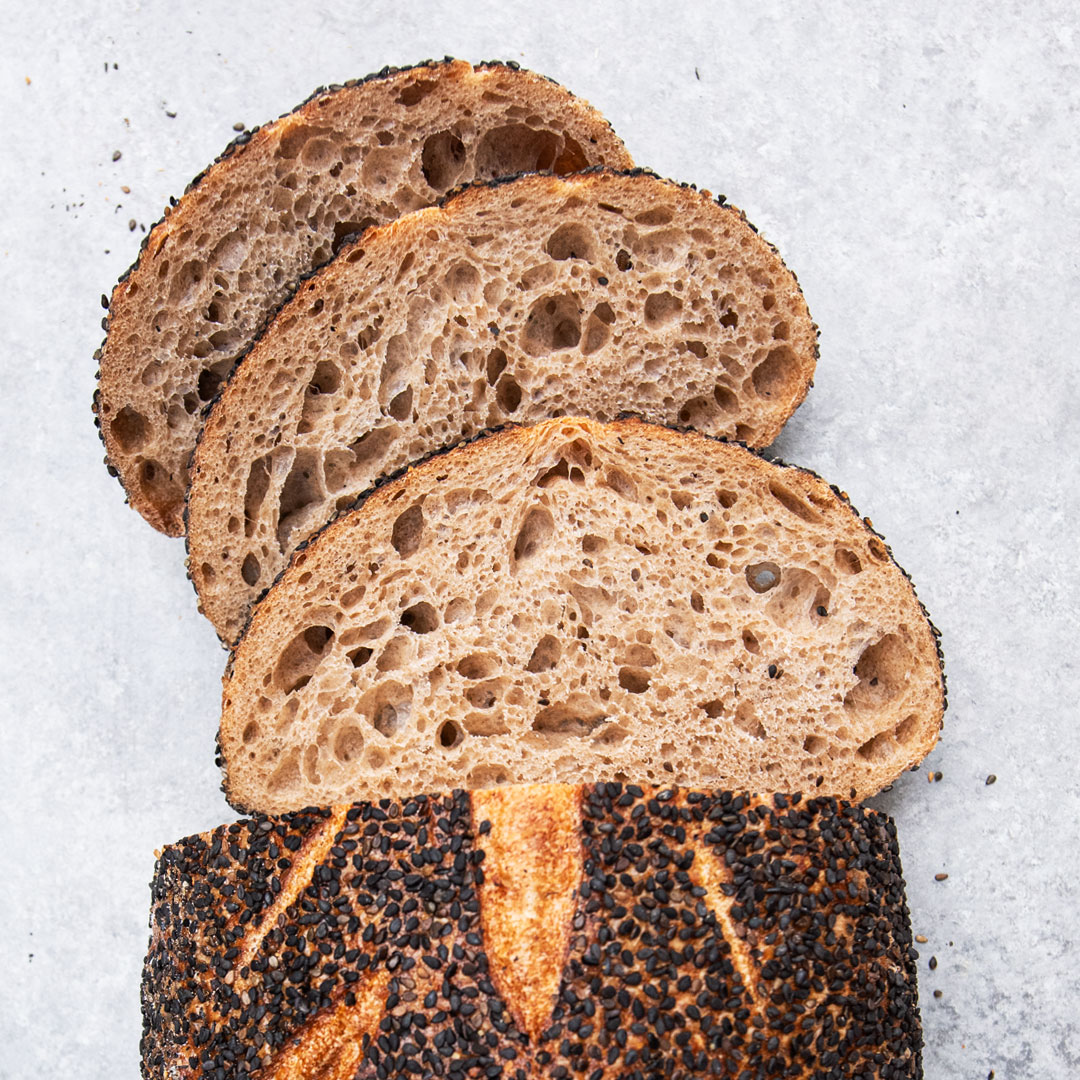
Sprouted Sourdough Bread
Whether you’re a seasoned bread baker or curious beginner, don’t let the three-day timeline scare you away from making sourdough with sprouted flour—there is no more hands-on time to making sourdough than yeast-leavened artisan bread.
The process of mixing, kneading, rising, shaping, proofing, and baking yeasted bread is an exercise in patience many bakers find as satisfying as the bread itself. Sourdough’s extended timeline stretches the process of bread baking from hours to days. But the delayed gratification makes the fragrant results all the more rewarding—and delicious!
Our Sprouted Sourdough Bread recipe was developed by One Degree Organic Foods’ Administrative Project Coordinator Aileen Wood (the talented home baker behind our Cast Iron Skillet Cinnamon Twist Bread recipe).
Drawn to sourdough’s signature flavors, Aileen’s curiosity grew as she heard how much enjoyment other bakers were getting from working with the wonders of wild yeast. But it seemed like so much work! When she finally got the courage to try it, the process of making and maintaining an active starter, spending multiple days on bread, and baking in a Dutch oven felt daunting. There’s no whipping up a loaf of bread on a whim at lunch to have it ready for dinner when it comes to sourdough!
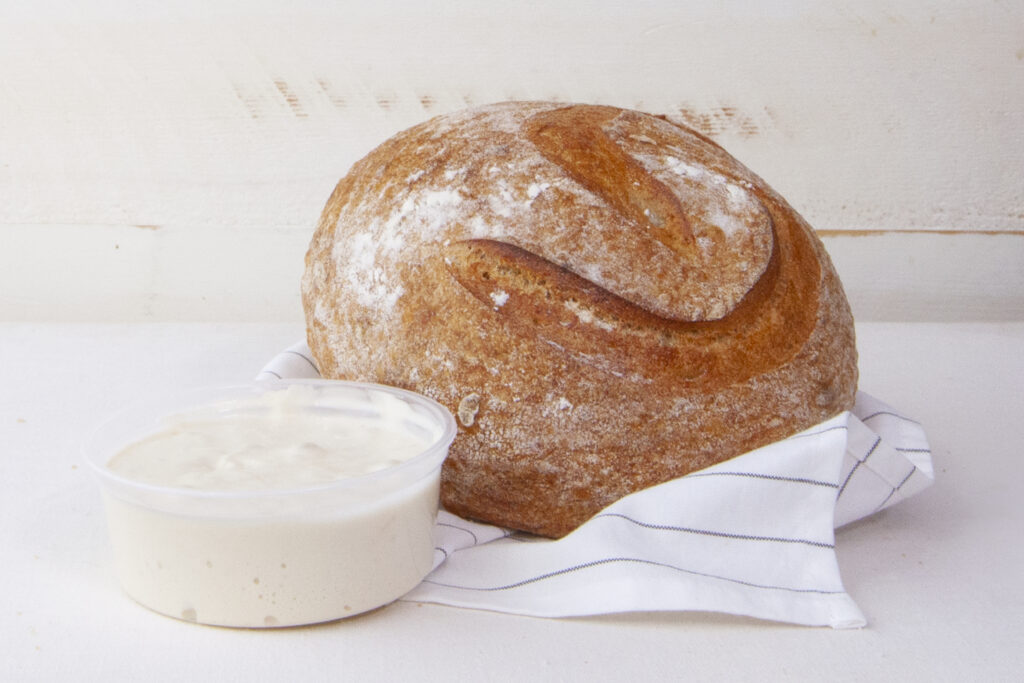
But once she pulled her first loaf of sourdough out of the oven and saw that beautiful, crusty ear (the crust on top of the sourdough), she was in love!
Aileen’s experience on the sourdough learning curve was not without a couple of commonly encountered bumps, and she found it took her a while to get into a routine that works for her. But with lots of kitchen timers and a good recipe, she’s had quite a bit of fun exploring the art of sourdough. And we hope you will, too!
What if you don’t have a sourdough starter?
Before you embark on your first adventure in sourdough, you need sourdough starter. But if you aren’t the lucky recipient of a sourdough starter gift from an experienced sourdough baking friend, don’t fret. Make your own! All you need is flour, water, a clean jar, a warm kitchen (not too hot, not too cold), and 6 to 12 days of patience. (A kitchen scale helps, too).
There are as many articles, videos, tutorials on how to make and opinions on how to care for your own starter as there are people to write cookbooks or post on the internet. To spare you the search for one you can trust, here are two that include step-by-step instructions and plenty of detail to help you find your way:
- Easy Sourdough Starter Recipe
- Sourdough or Levain? Debunking the Myths and Mysteries of Harnessing Wild Yeast (from The Joy of Cooking)
Although the process of making a starter is relatively simple, be prepared to try again if your first attempt doesn’t work. Case in point: Aileen’s first starter failed. Although she feeds her established starter all purpose flour now, she found success on her second attempt using whole wheat flour to get her starter going.
(Seasonal factors like a sweltering hot house or an overly cold kitchen may come into play. (If you’re starting yours in the winter, keep it at a warmish 70 – 73 degrees F (21 – 23 degrees C) for best results)).
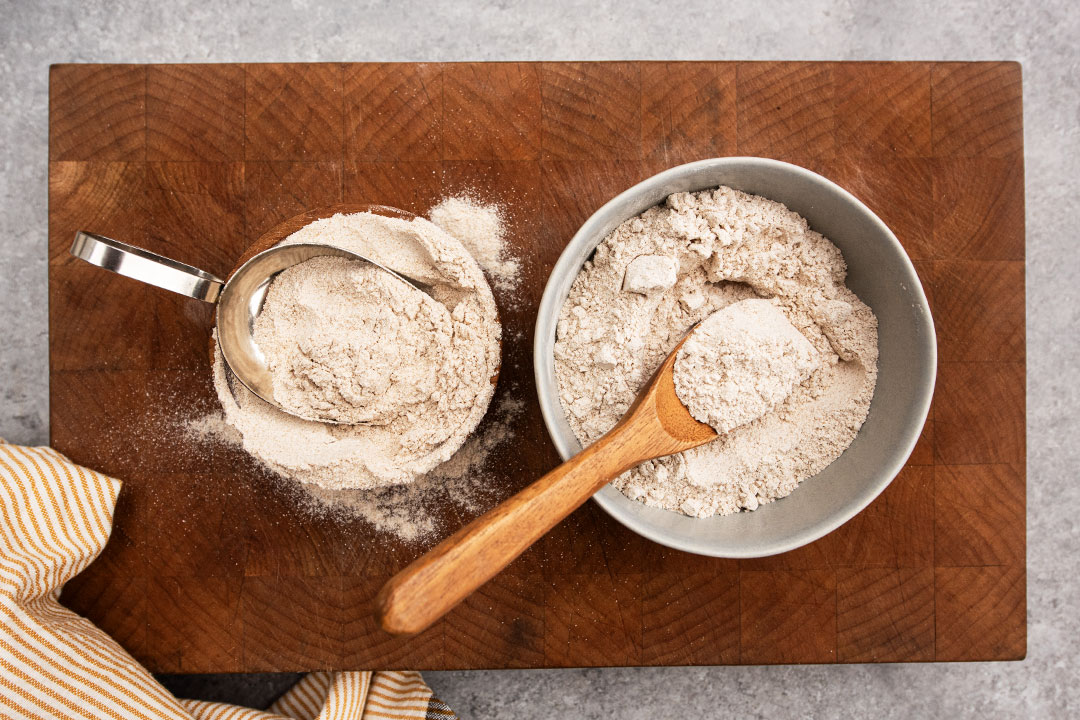
Measure by weight, not by volume
Although many bread recipes measure ingredients in cups, sourdough calls for the gram-by-gram precision of bakers’ measurements. So pull out your kitchen scale, zero out a mixing bowl, and get ready to bake sourdough with sprouted flour!
Ingredients
(Makes 2 sprouted sourdough loaves)
For the levain:
25 g sourdough starter
100 g organic white bread flour (or unbleached all purpose flour (see note))
100 g water (room temperature)
For the dough:
650 g water (room temperature)
750 g organic white bread flour (or unbleached all purpose flour (see note))
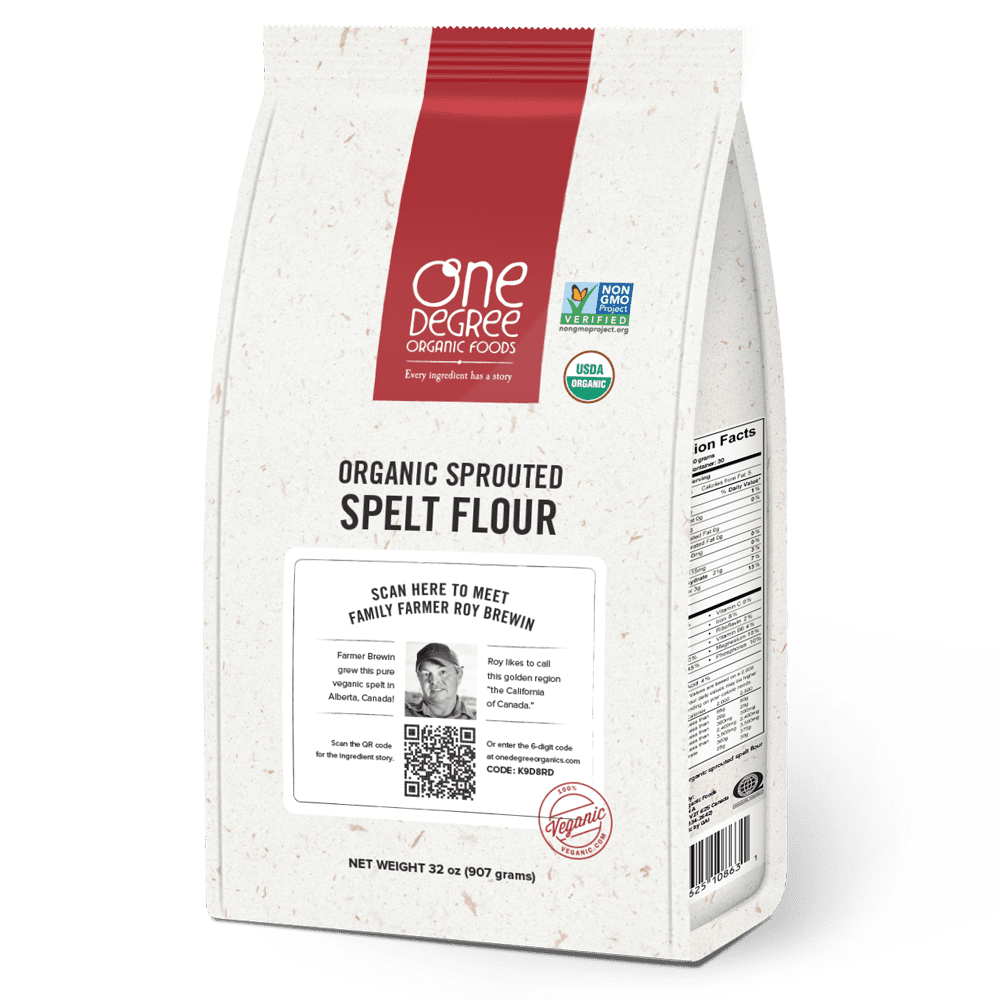
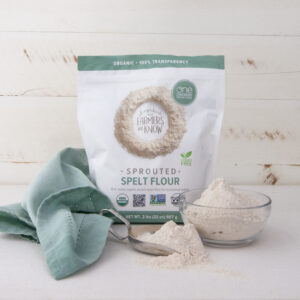
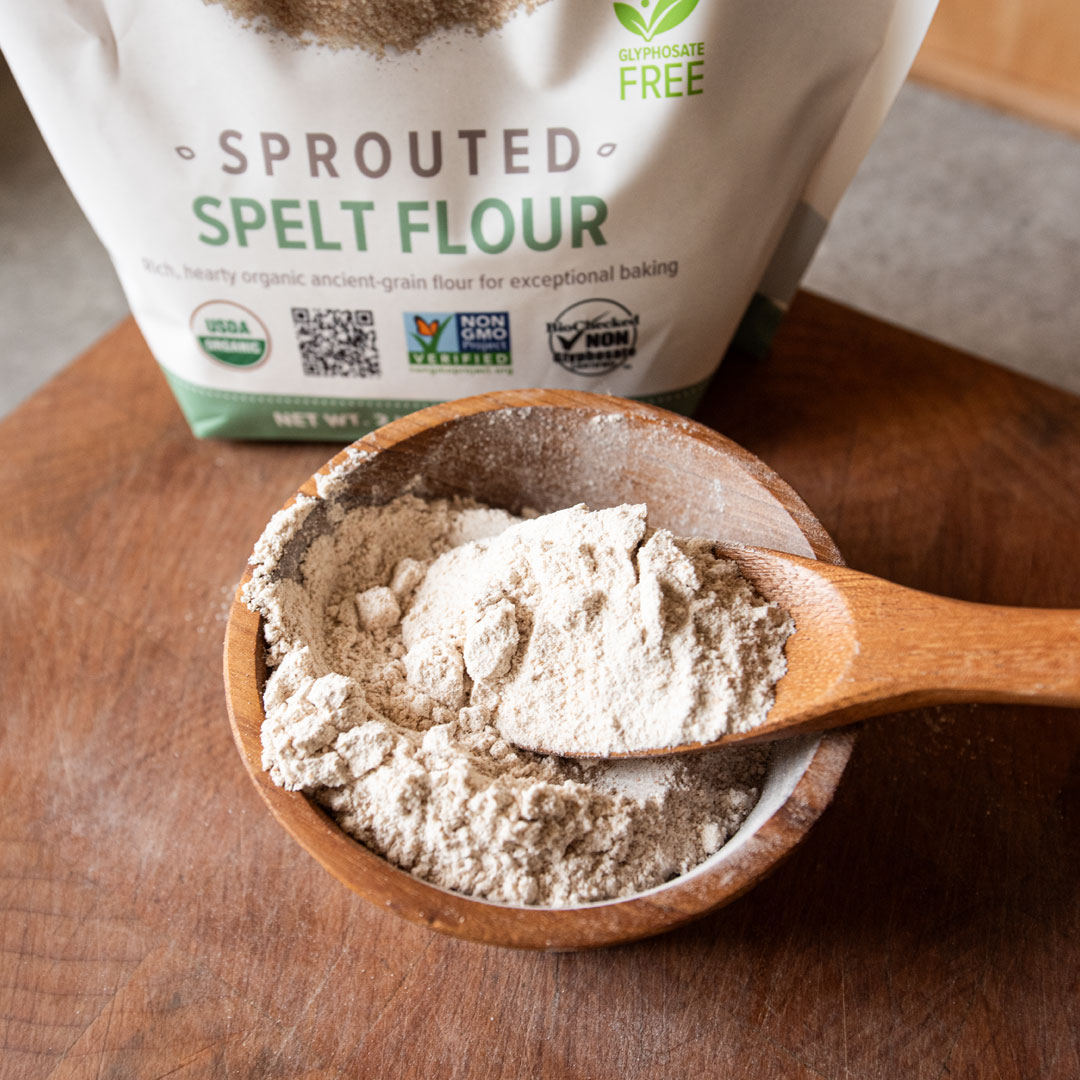
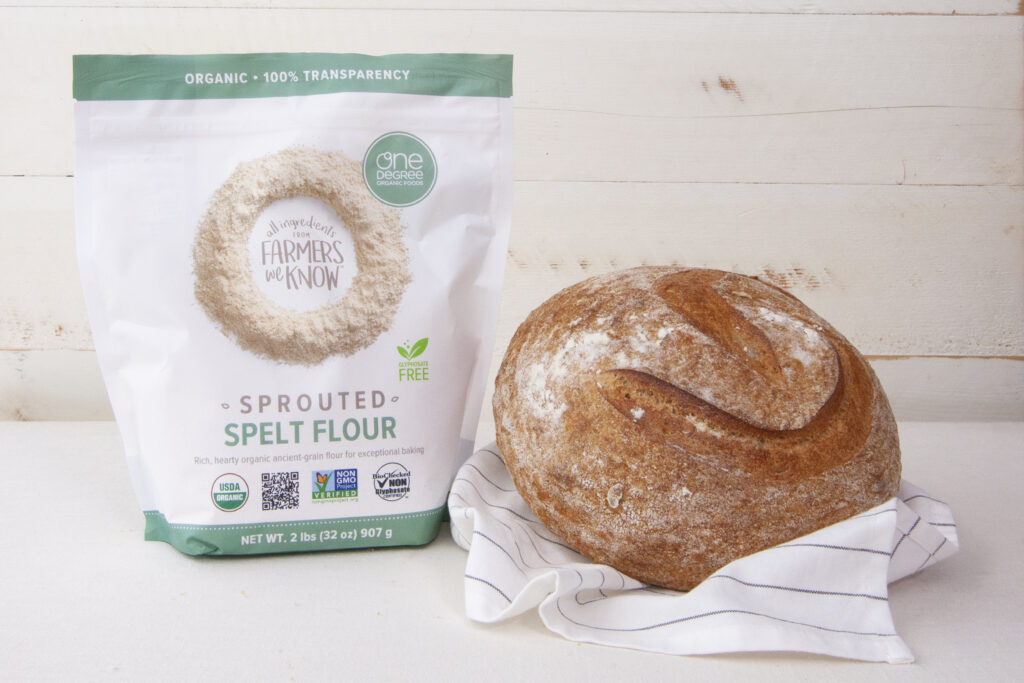
250 g One Degree Organics Sprouted Spelt Flour (or Sprouted Whole Wheat Flour)
20 g salt
50 g water (room temperature)

Directions
Day 1 @ 8 PM – Make the Levain:
Mix together 25 grams of starter, 100 grams of flour, and 100 grams of room temperature water.
(For this recipe, we used starter that had been fed at least 12 hours before this first step (or fresh from the fridge if using a once-a-week feeding schedule (see note below on how to maintain your sourdough starter)).
Cover and let the levain rest on the counter overnight.
Day 2 @ 9 AM – Make the Dough:
Mix the dough. Combine the levain from last night with 650 grams of room temperature water, 750 grams of white bread flour, and 250 grams of sprouted spelt flour, and mix thoroughly.
Autolyse the dough. Rest covered for 30 minutes at room temperature. (The short 30 minute rest gives the dough better texture and rise—don’t skip it!).
Add the salt. Incorporate 20 grams of salt and the last 50 grams of room temperature water into the dough by sprinkling it in batches, pinching to incorporate each batch. (You may not need the full 50 grams of water but use as much as necessary to incorporate the salt fully. Pay attention to your dough and don’t add more water than it can handle).
Begin bulk fermentation by folding the dough. Slap the dough on the counter, pull it back towards you and fold. Turn the dough and repeat process for about 6 minutes.
Place dough in a bowl, cover with a towel, and rest for 30 minutes at room temperature.
Do 4 stretch and folds. Starting on the North side of the bowl, gently pull up the edge of the dough ball and stretch it to its natural limit, then fold the stretched portion over the top of the dough ball. Rotate the bowl one quarter turn counterclockwise and repeat until you have completed 4 stretch and folds in a North/South/East/West pattern. Rest dough for another 30 minutes.
Do another 4 stretch and folds (North/South/East/West).
Rest the dough. Place dough in a bowl on the counter and cover with a towel. This rise should take 3 to 5 hours. When the dough is ready, it will have formed a light skin and be “giggly” from the gas trapped inside.
Portion and pre-shape the dough. Sprinkle a very small amount of flour on the counter and separate the dough into two equal parts. Pre-shape the dough using a trifold pattern (also called a letter fold). Gently shape one dough portion into a rough rectangle. Fold first one outside edge of the dough to the center, then the other. Rotate the dough one quarter turn, then repeat the outside-to-center folds and set aside. Do the same for the second portion of dough.
Cover the dough with a cloth and let it rest on the counter for 20 minutes.
Shape the dough into a boule or oval. One portion at a time, pat the dough into a rough circle. With one hand, grab an edge, pull it to the middle, and pass it to the other hand to hold. Working around the dough, repeat by pulling up the edge of each quarter until you are holding all four edges in your second hand and have formed a rough ball. Pick up the ball, and place it gathered side down on your counter. Cup your hands together and gently pull the ball toward you. Gently rotate the ball and repeat. Make sure to sure to create tension in the top surface of the dough.
Cover and rest for another 15 minutes on the counter.
Prepare the dough to rest overnight. Move the dough into a lightly oiled bowl with high sides (or use a banneton if you have one). Be sure to leave it seam-side up.
Lightly oil a square of cling wrap, and place it on top of the dough, leaving some breathing room in the center for it to grow.
Leave the dough out on the counter for 1 hour and then place in the fridge overnight.
Day 3 @ 8 AM – Bake the Dough:
Place a Dutch oven in the oven with the lid on and preheat the oven to 480 degrees F for 1 hour.
Prepare the dough for baking. Remove one ball of dough from the fridge and transfer it to a sheet of parchment paper with the seam side down. (If you have one Dutch oven, leave the other ball in the fridge and bake one ball at a time).
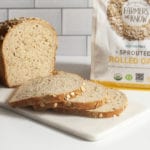
Using a sharp razor blade at a 45-degree angle, score the loaf with a cut about ¼-inch deep (and no deeper than ½-inch). We used a single slash for the loaf in our photos, but there are countless scoring patterns to explore!
Bake the bread. Using oven mitts, take the Dutch oven out of the oven and remove the lid. Lift the parchment paper and carefully transfer the dough into the hot Dutch oven. Cover with the lid and place the Dutch oven on the center rack of the oven to bake.
Turn the temperature down to 425 degrees F and bake with the lid on for 40 minutes.
Take the lid off the Dutch oven and bake the bread for 15 more minutes until golden brown.
Remove the loaf from the Dutch oven and transfer to a cooling rack. Cool for a minimum of 2 hours or overnight before slicing. Do not cut when hot!
To bake the second loaf, return your (empty) Dutch oven to the center rack with the lid on and turn the heat back up to 480 degrees F. Allow the Dutch oven to heat completely before repeating the baking steps above for the second loaf.
Notes:
How to maintain your sourdough starter
Once you have a starter, how you maintain it over the long-term depends on how often you plan to bake with it. For weekend and once-a-week bakers, Aileen’s preferred method is to feed it weekly. Here’s her five-step process:
1. Take your established starter out of the fridge at 8 AM.
2. Scoop 136 grams of starter into a clean glass jar.
3. Add 120 grams of water (room temperature) and 120 grams of all purpose flour and mix well.
4. Cover the jar loosely and let sit on the counter for the day.
5. Return your fed starter to the fridge if you are not starting a new levain that day.
This recipe calls for white bread flour. Can you make it with all purpose flour (or unbleached white flour)?
Yes, but with a small asterisk. Not every all purpose flour is created equal.
Most white (or unbleached) all purpose flour is made from a blend of hard and soft wheats, or a blend of hard spring and hard winter wheat.
If you live in Canada, all purpose flour typically contains 10 – 12% protein, and bread flours typically contain 12 – 15% protein, so the two flours are mostly interchangeable in this recipe . If you live in the US, most all purpose flour contains 8 – 11% protein, but some white flours labeled “all purpose” are made from soft wheat and can be much lower (which makes them perfect for fluffy, tender biscuits, but less than ideal for bread).
Look for an organic white or unbleached all purpose flour that states the percent protein content on the package. Or do a little math and divide the grams of protein on the nutrition facts panel by the grams in the serving size (e.g., 3 grams protein per serving divided by a 30 gram serving size = 10% protein—and that means it will work in this recipe!)
Aileen Wood
Aileen was a delightful 4-year-old when I first met her. I was privileged to be a close neighbor of her family and have so many happy memories of her and her family. Time has this way of speeding by and before I knew it – Aileen was graduating from university and looking for work. I was beyond delighted when Aileen joined our team! She is a girl of many talents and whether she is at trade show, working in the office or making something delicious in the kitchen – she is a delight to be with. I was so happy that she was willing to share her successful sour dough bread journey with us.
– Kathy Smith
You might also be interested in:


Featured Products
-
Organic Sprouted Spelt Flour
See Product -
Organic Sprouted Whole Wheat Flour
See Product