

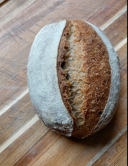
Rustic Sprouted Whole Wheat Bread
If you are searching for a simple yet delicious recipe for whole wheat bread that is also healthy, full of nutrition, and has a rustic soft crumb texture, then this is a recipe you will want to try. Made with One Degree Organics Sprouted Whole Wheat flour and all-purpose flour in a 50/50 ratio it is a wholesome and nutritious sprouted blend that will deliver the perfect rise.
Let’s start baking!
Notes:
Autolyze: Combine the flour and some or all the water in a recipe and then leave the mixture to rest for some period. During this time, gluten bonds begin forming, and the dough takes on a smoother texture and strengthens overall.
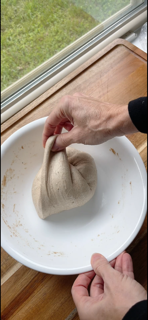
Stretches and Folds: A technique used to help develop gluten strength and elasticity in the dough. Wet your hands to prevent sticking. Gently grab one side of the dough and stretch it upwards without tearing it, then fold it over the center of the dough. Repeat this process for each side of the dough (top, bottom, left, and right), essentially folding the dough into itself. Rotate the dough 90 degrees and repeat the stretching and folding process. This ensures that each side of the dough gets stretched and folded evenly.
Bulk Fermentation: (also called the first rise or primary fermentation). It begins right when mixing ends and lasts until the dough is divided and pre-shaped. The step when the dough is fermenting in a large, single mass.
Batard: French term for an oval or oblong loaf (as opposed to a circle) results in a more open interior.
Banneton: Proofing basket, will give your dough the structure it needs to maintain its shape while proofing and getting it ready to bake.
The Stitching Technique: Involves pulling the sides of the dough inward in small increments, alternating left to right. This process helps tighten the dough and improve its shape and gas retention.
Cold Proof: Cold proofing is where the shaped dough is placed into the refrigerator to let proof for many hours at a cold temperature (usually overnight). Then, the dough is typically baked straight from the refrigerator.
Scoring: Slash the dough with a blade or bread lame to allow it to expand during baking. The purpose is primarily to control the direction in which the bread will expand during oven spring.
Ingredients
Yield: 1 medium-sized loaf
Sourdough Levain:
20g starter
20g bread flour or all-purpose flour
20g water
Final Dough Ingredients:
150g One Degree Organics Sprouted Whole Wheat Flour
150g bread flour or all-purpose flour
240g water (80% hydration)
60g very active starter (20%)
6g salt (2%)
½ tablespoon dry rosemary or any dry herbs (optional)
Directions
Equipment Used:
Medium bowl
Kitchen scale
Silicone spatula or dough whisk
Bench scraper
Plastic cover
Oval banneton or 8 or 10-inch proofing basket
Parchment paper or silicone bread mat
Dutch oven 7qt (or smaller) or roasting pan 13-15 inches
Lame or razor blade
White flour for dusting
Sourdough Levain:
Add all the ingredients to a small/medium jar and stir to combine. Cover and place the levain in a warm spot, preferably around 78°F/26°C for 4 to 5 hours or until it has doubled/tripled in size.
Mix flours and water, then autolyze for 4 hours at room temperature, covered.
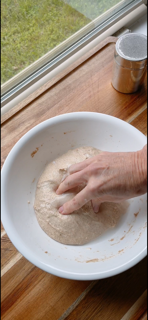
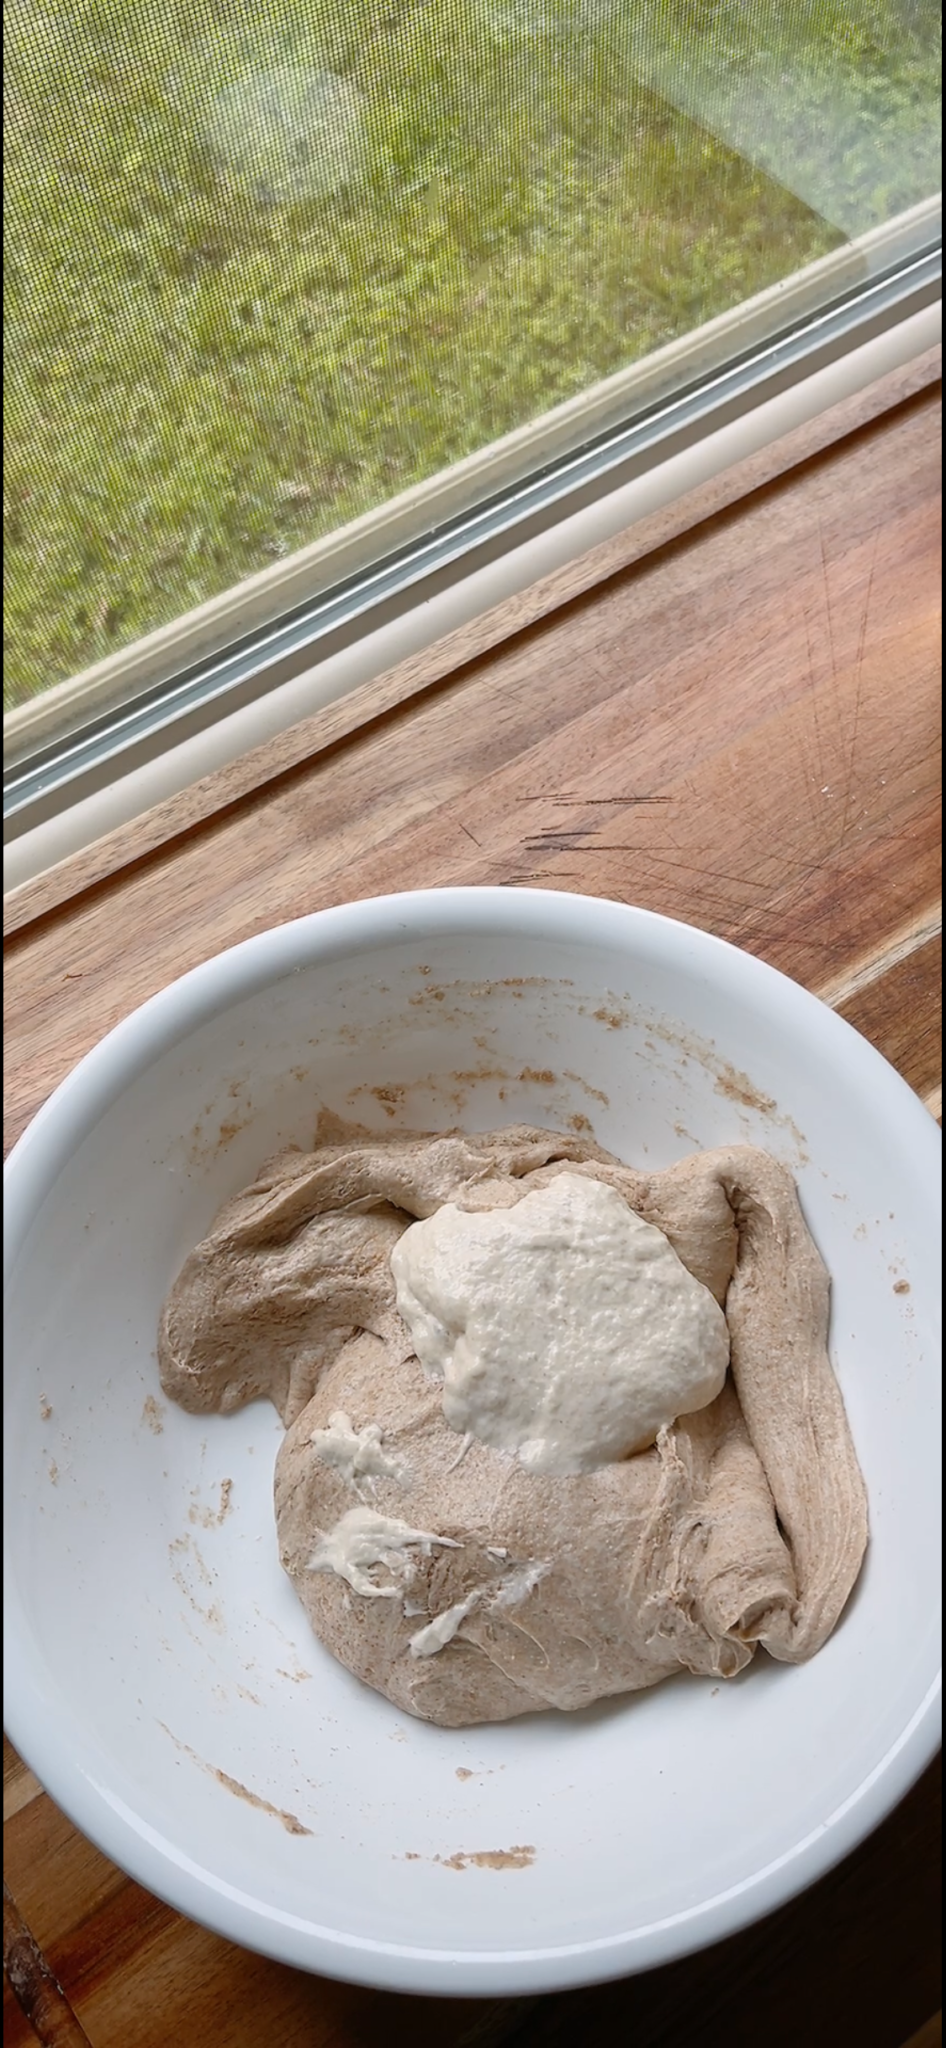
Add the starter and mix until fully incorporated. After 35 minutes, add salt, dry rosemary, and combine by pinching the dough until the salt is dissolved. Knead until a homogeneous dough is formed. Let rest covered for 30 minutes.
Perform three stretches and folds at 40-minute intervals during bulk fermentation, which should last around 6 hours at a temperature of 75°F/24°C. By the end of this stage, the dough should have almost doubled in size and appear bubbly.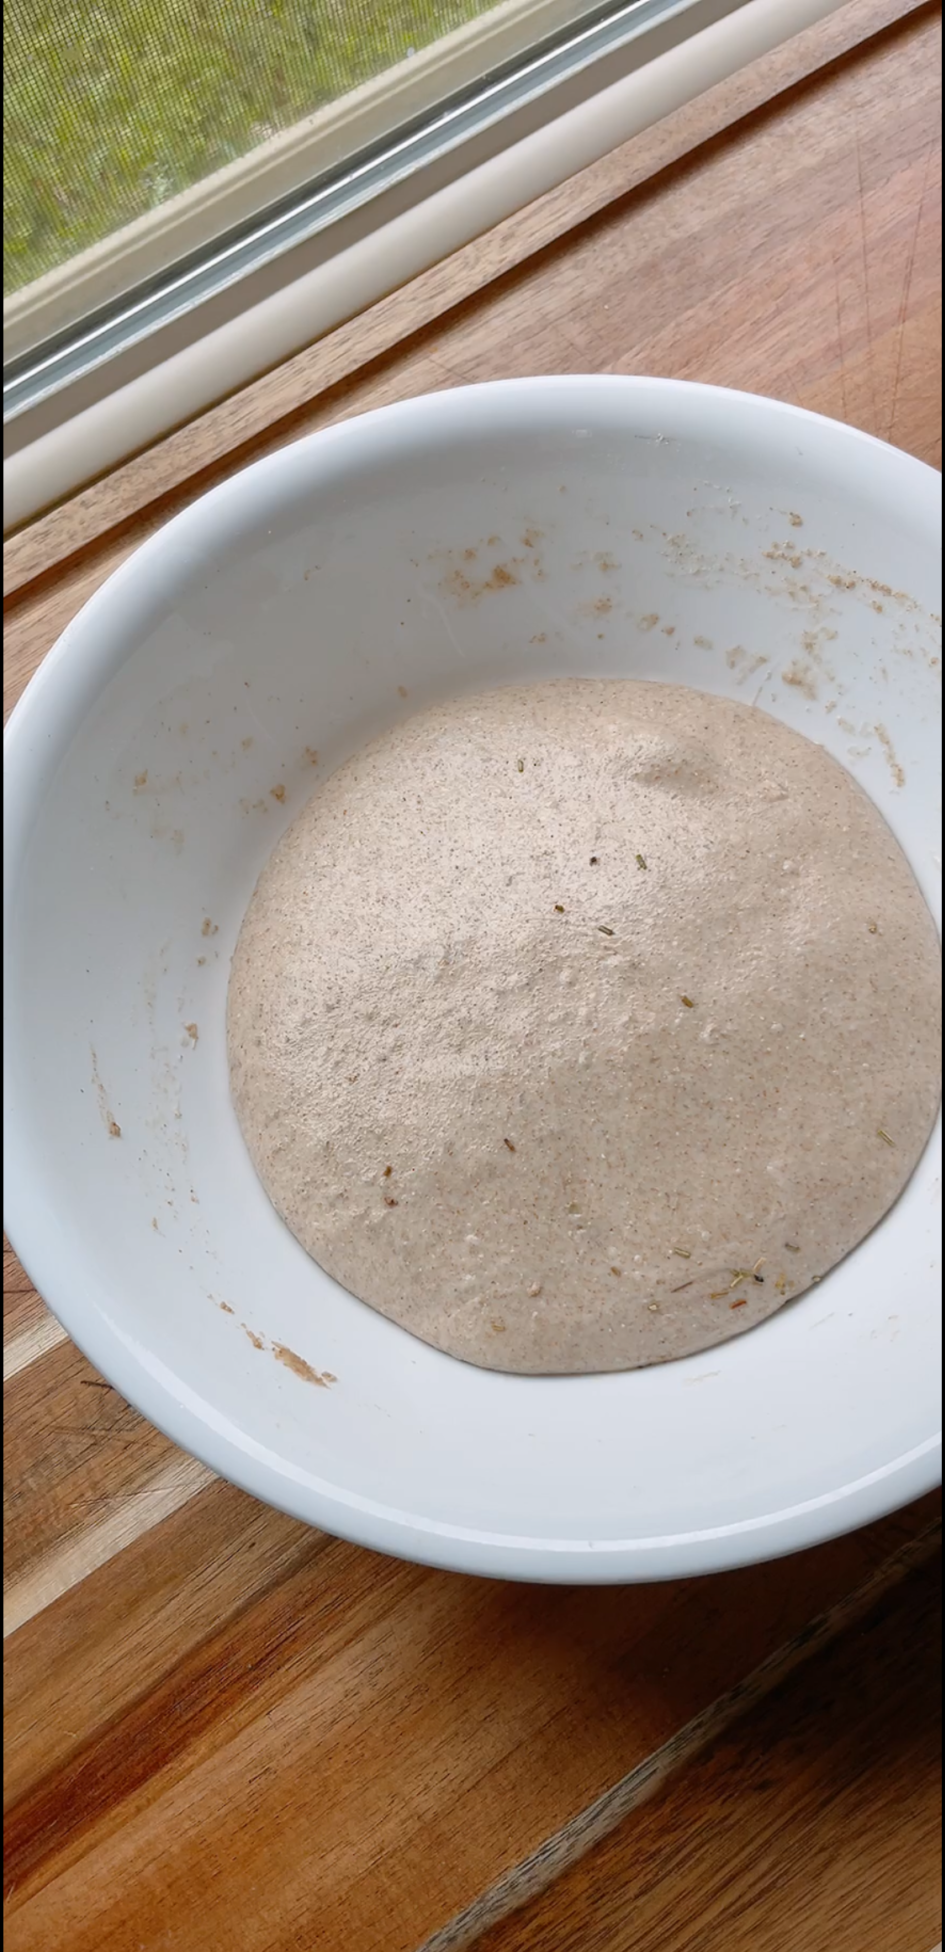
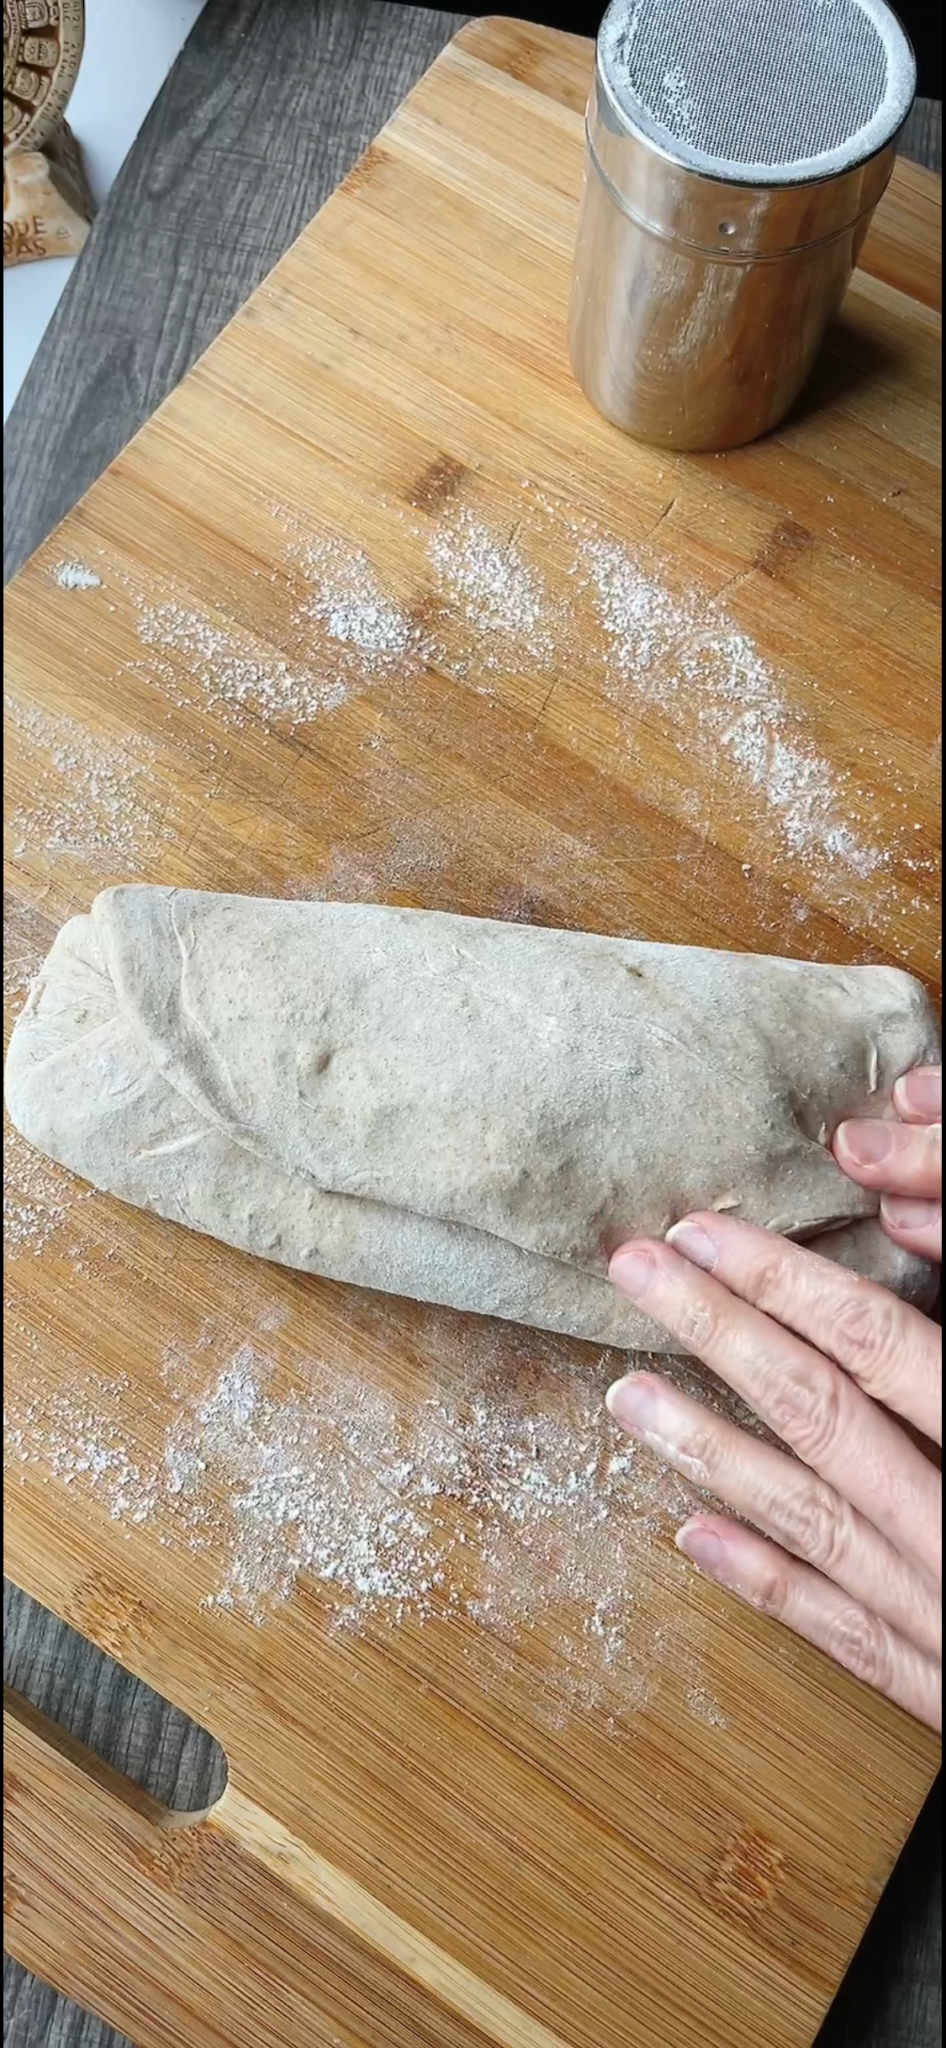
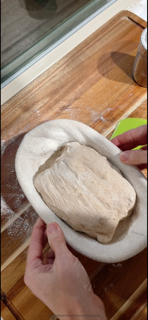
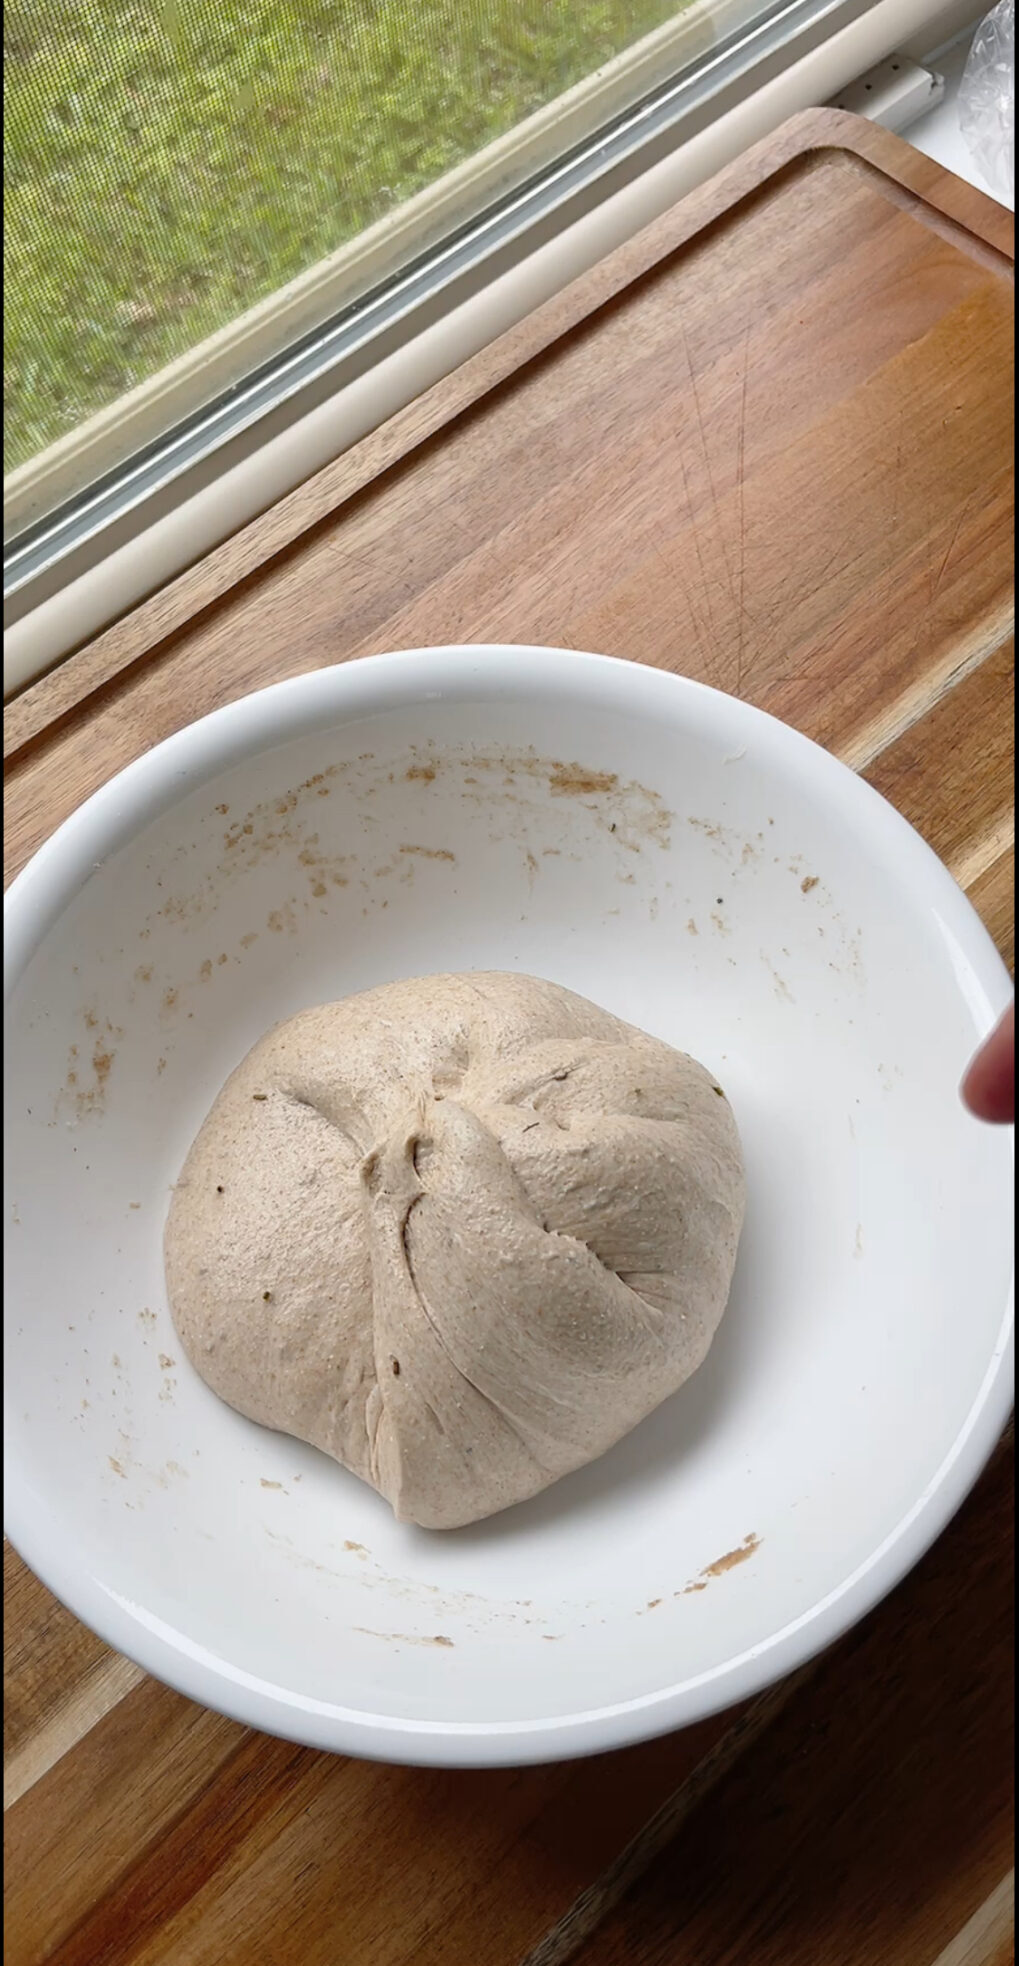
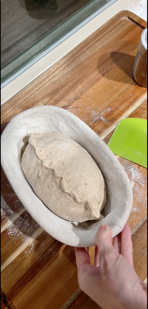
Shape it as a batard: Prepare an oval banneton by dusting it with white flour. Transfer the dough onto a lightly floured work surface with the help of a bench scraper, fold in the dough right side, then the left side, and roll it down towards you. Gently flip the dough over and lift it into the prepared banneton, seam side up. Gently tap the dough to distribute air. Pinch any large bubbles and stitch to create tension. Cover and transfer the dough to the fridge for cold proof, lasting between 14 to 18 hours.
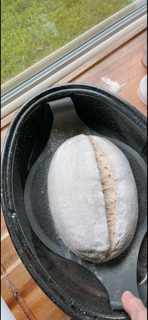
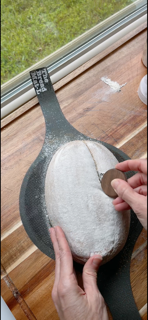
The next day, preheat the oven to 450°F/230°C. Remove the dough from the fridge, dust flour on top of the dough, place parchment paper or silicone mat on top of the dough, and gently flip it over the counter to remove the banneton. Dust the dough with flour and with the help of a bread lame make a clean slash from the top to the bottom of the dough. Make sure to score deep enough, from 1/4 inch to 1/2 inch deep with a 90-degree angle.
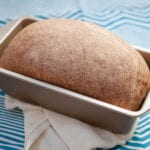
Transfer the dough to a Dutch oven or roasting pan and bake for 20 minutes with the lid on, then remove the lid, reduce temperature to 420°F/215°C, and bake for an additional 20 minutes until golden brown. The bread should sound hollow when done.
Transfer to a wire cooling rack and let it cool completely before slicing, around one hour. Slicing before cooling can cause the bread to tear instead of slicing cleanly through or it can be gummy on the inside. Allow enough time to completely cool down before serving.
Enjoy!
About Klola
Klola began her sourdough baking journey in 2018 to take control of what she was consuming. She was tired of the extensive list of unpronounceable ingredients found- in store-bought bread and decided to explore the ancient art of bread-making. As she delved into the world of baking, she discovered that it was her favorite hobby. She finds it therapeutic to mix, knead, and wait for the dough to rise in the kitchen.
You might also be interested in:


Featured Products
-
Organic Sprouted Whole Wheat Flour
See Product